Pages

March 29, 2011

How To: Chop an Onion

[From a lefty's perspective. If you're a righty...just pretend.]

What you will need:
A sharp knife
An onion
A cutting board


Grab an onion. A simple, yellow onion will suffice.
DSC_0385


Chop the non-rooted end off.
DSC_0390


Chop it in half.
DSC_0398


Peel it down to the shiny-whites.
DSC_0405


Lay it flat and put your palm on it. (Fingers & thumb up!)
DSC_0407


Put a good slice in it, parallel to the cutting board. Watch those fingers!
DSC_0421


And another, a little further up--still parallel to the cutting board.
DSC_0426

Keep slicing it, all the way to the top.
Turn the onion 90 degrees so the rooted side is away from you.


Start slicing it--perpendicular to the cutting board now.
DSC_0447

Slice it all the way across
DSC_0463


Rotate the onion 90 degree again, back the way it was when you started.

DSC_0467


Slice it, perpendicular to the cutting board, but parallel to the last slices.
Like a grid.
So much math involved in this.
DSC_0472


Keep going, you're almost there.
DSC_0473


Done!
DSC_0475


Discard the rooted-ness.


Now you try! 

Let me know how it goes.

March 28, 2011

Loin of Tender Pork (With Leeks & Apples!)

DSC_0405

While growing up, whenever we had steak for dinner, it was always pork steak.
The idea of pork for dinner now grosses me out. It's just not appetizing. My idea of pork is a dry, chewy, flavorless piece of meat. (No offense, Mom--love you!)

Needless to say, we're not big pork eaters here in this household. (Besides bacon, of course of course!)

I decided to give pork a try again. It was on sale, I had no choice.
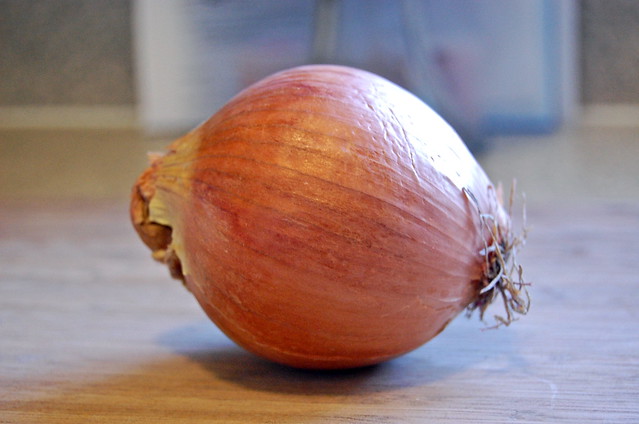
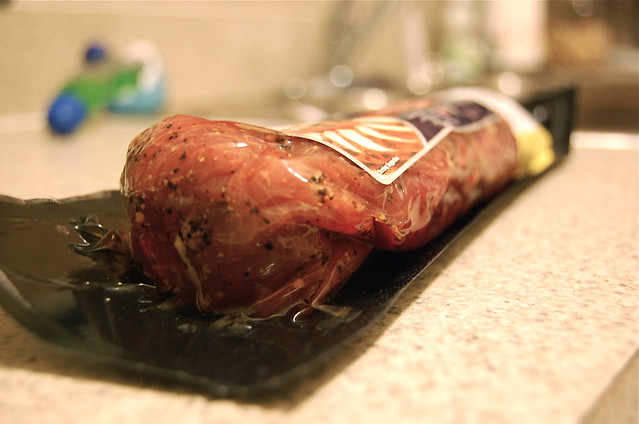
I bought one of those tenderloins that is sealed in a marinade.
Did you know they had those?
They do.
It looks like this:
DSC_0097

The goal here was to create a super tender, flavorful, and moist piece of meat.
Even though it was already soaking in flavor, I wanted to add some more.

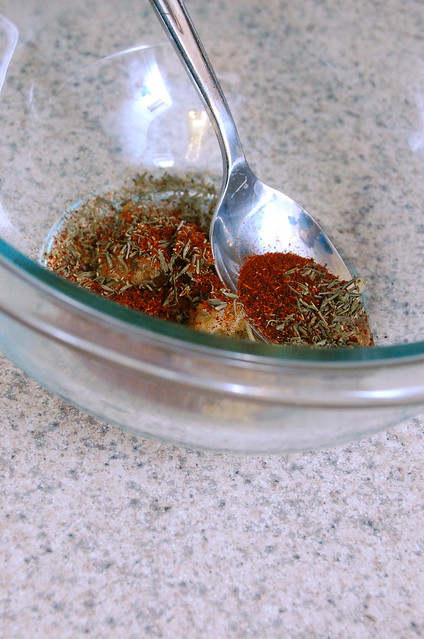
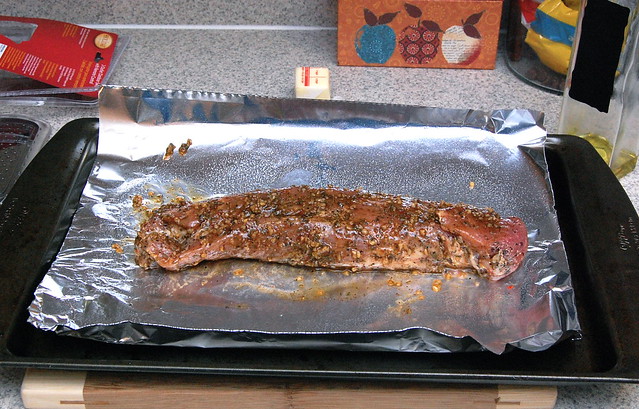
In a bowl, mix together some seasonings to make a spice rub:
DSC_0203
(I mixed minced garlic, rosemary, sage, salt & pepper, thyme, parsley, paprika, ancho chili powder, and olive oil)

Slather the tenderloin on all sides with the spice rub.
Slather it good, baby. Flavor, flavor, FLAVOR!
DSC_0244


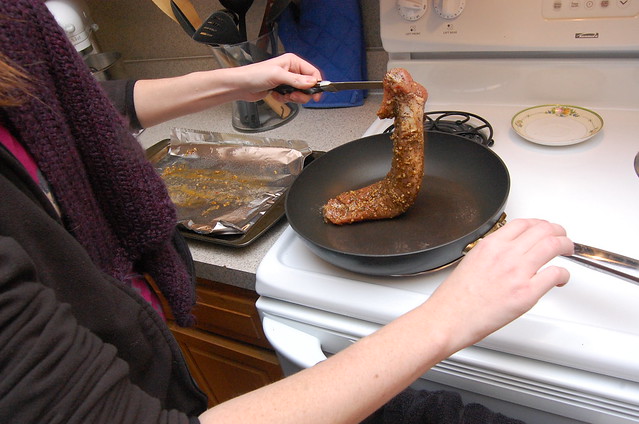
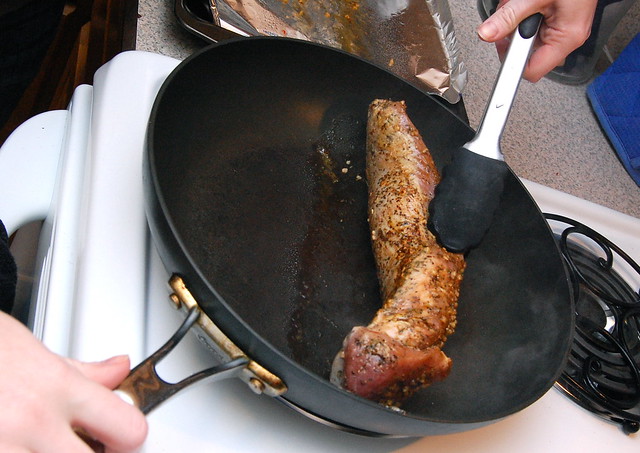
Heat a large skillet on medium high heat. Once the skillet gets hot, add about a tablespoon of oil.

Saute the tenderloin, creating a nice, crunchy crust on all sides. You don't want to cook it through here, we're just sauteing until brown to make the crispy crust and to seal in all the flavor.
DSC_0261

DSC_0268


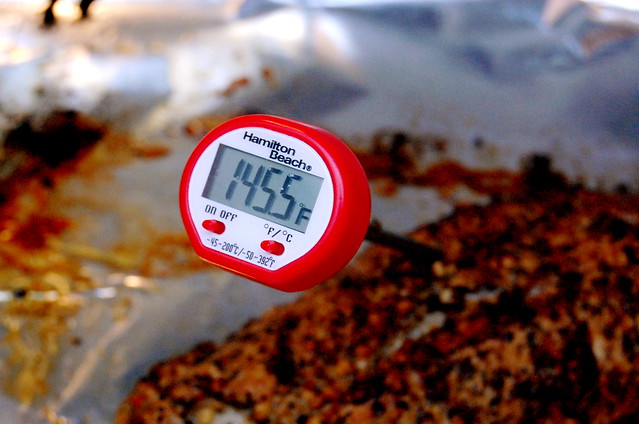
Once browned on all sides, put in 350˚F oven to finish cooking. Bake for 25-30ish minutes, until it has an internal temperature of 145-150˚ F in the center.


In the meantime.....

We're gonna make our apple & leek salad to go with de loin of de pork-o. This is the best part, in my opinion.
Be gone all thee meat...Bring on thee fruits & thee veggies, YUM!


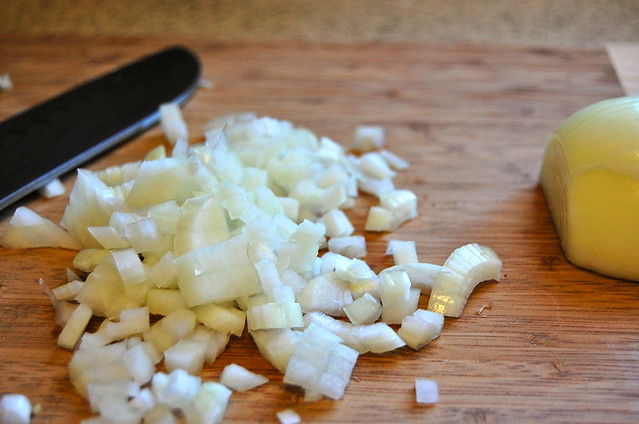
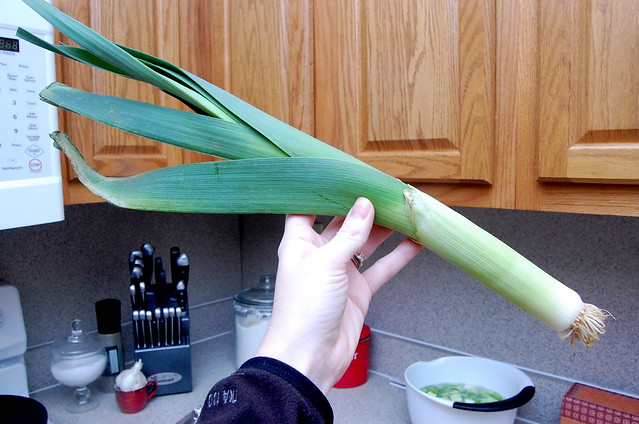
For this you need 2 leeks, and 3 red apples.

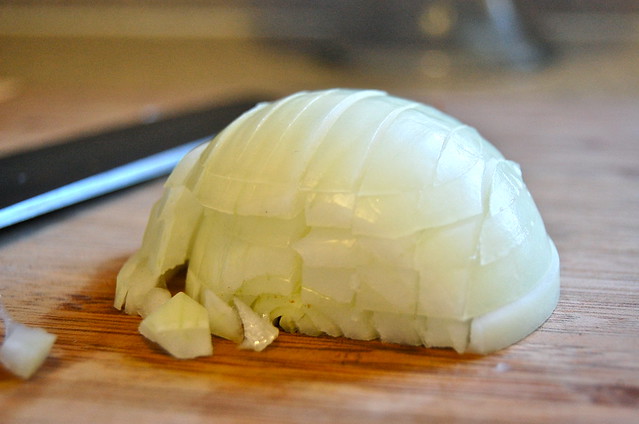
It surprises me that a lot of people don't know what a leek is. I looooveeeeee leeks. LOVE LOVE LOVE them.

Friends, meet Leek.
DSC_0315

A leek is like a super huge, yet super, super mild green onion. (Word of the day: super.)

In leekdom, you only want to use the end of leek--the white and light green parts.

Cut the leek in half lengthwise, then cut it in 1-inch chunks. Fill a big bowl with cold water and put the chopped leeks in. Separate the layers and let them sit in the water for 5 minutes.
DSC_0317

The dirt from between the layers will fall to the bottom of the bowl--skim the leeks from the top.
Make sure you dry the leeks thoroughly

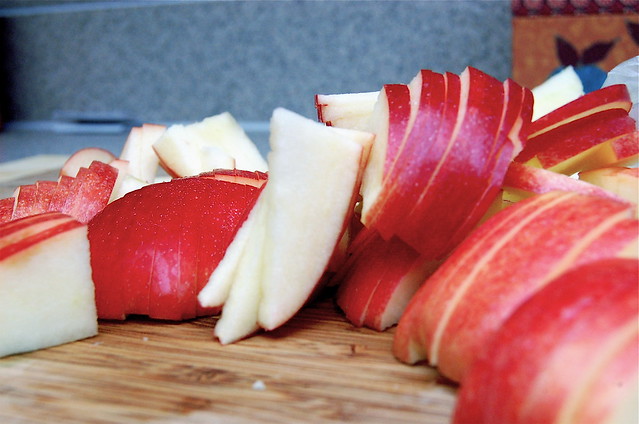
Next, thinly slice your apples.
DSC_0321


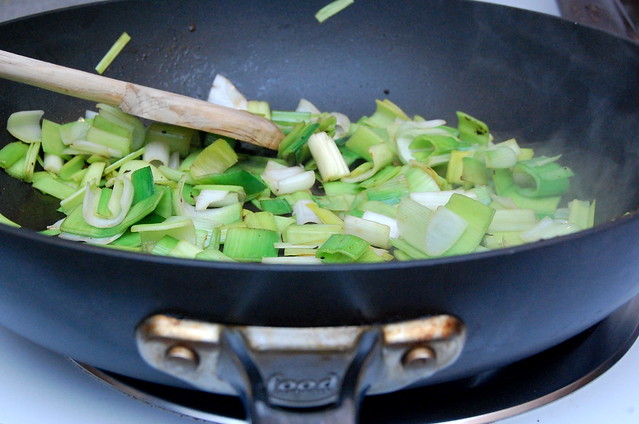
In the same skillet you used to sear the tenderloin, add a little more oil and saute the leeks until tender.
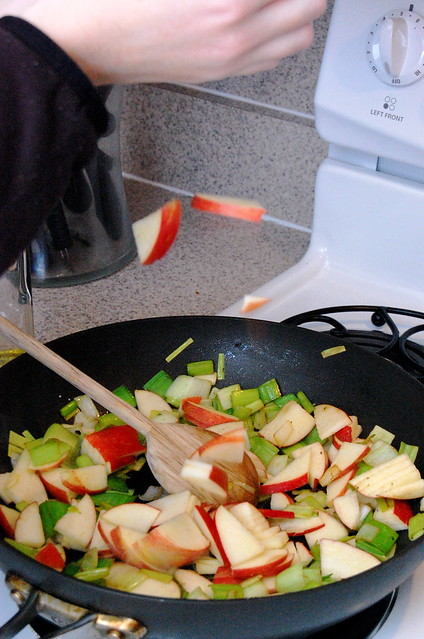
DSC_0333


Add zeee apples...
DSC_0342
...and stir until softened.

Remove from heat, then add 1 tablespoon of honey, and 1 tablespoon of red wine vinegar--season with salt and pepper to your taste.


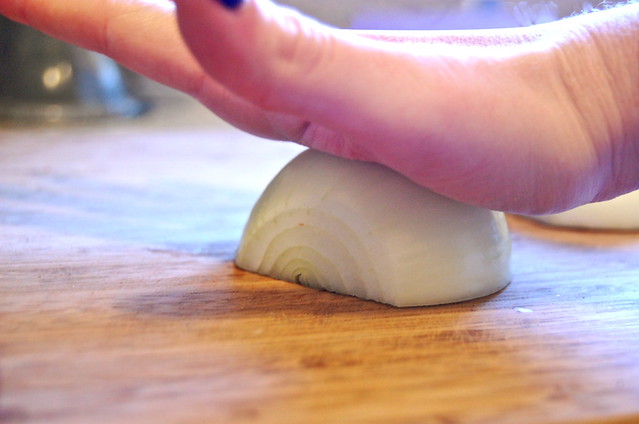
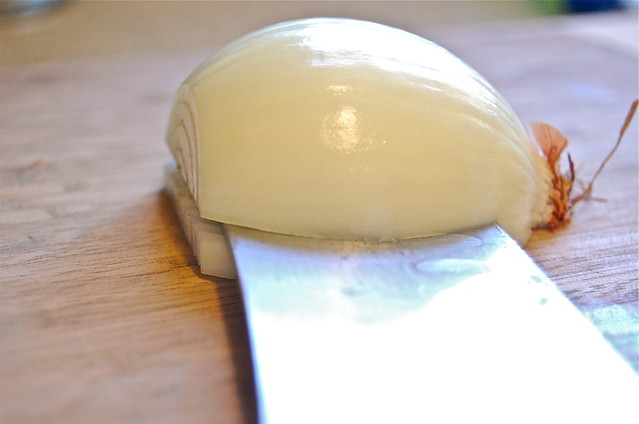
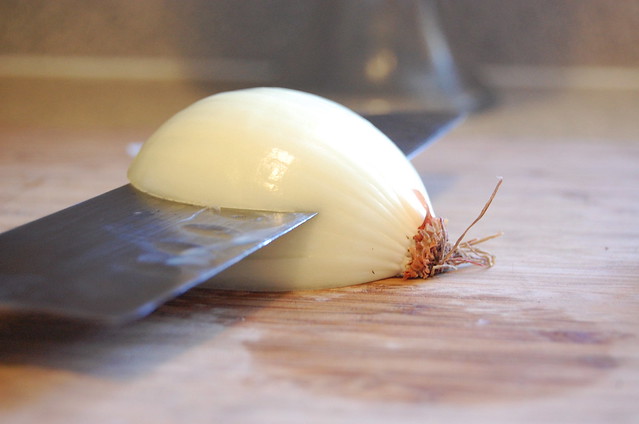
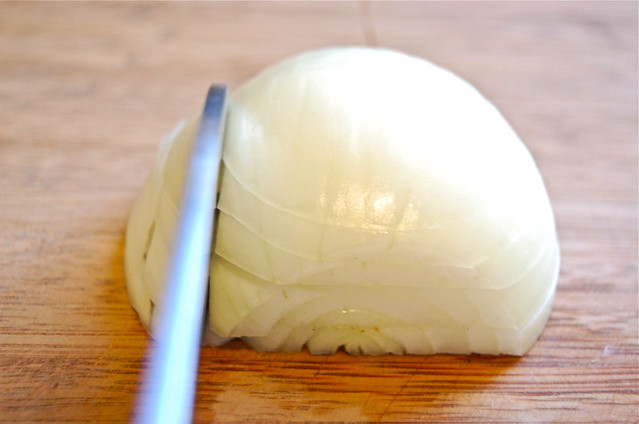
Remove the pork tenderloin from the oven and let rest 10 minutes.
DSC_0351

This resting step is crucial for juicy, delicious meat. All meat needs to rest once it's done cooking--if you cut it before it rests, all the juices flow out of it, leaving you with a dry piece of meat. Blah!

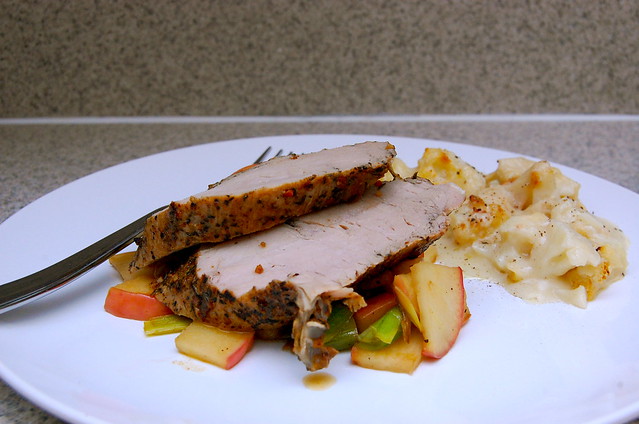
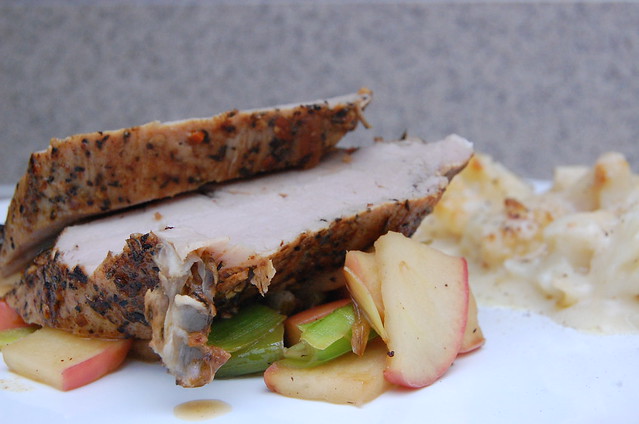
After 10 minutes, slice the pork into medallions. Serve with the leeks & apples.

DSC_0402


This is delicious.
Seriously, delicious.

It's sweet, and salty, and juicy and flavorful.
No, really. It is.
I promise.
Try it.


Recipe:
Roasted Pork Tenderloin with Sauteed Leeks & Apples

Ingredients:
 Pork tenderloin
 oil for sautéing 
Spice Rub:
 3 cloves chopped garlic
 1 tablespoon rosemary
 1 tablespoon sage
 1 tablespoon thyme
 1 tablespoon parsley
 1 teaspoon paprika
 1 teaspoon ancho chili powder
 2 teaspoon salt
 1 teaspoon pepper
 1 tablespoon olive oil

2 leeks, halved & sliced into 1-inch pieces
3 red apples (such as Gala), thinly sliced
1 tablespoon honey
1 tablespoon red wine vinegar
salt & pepper, to taste


  1. Heat oven to 350˚F. 
  2. Mix spice rub ingredients in a small bowl. Mixture should be pasty, but easily spreadable. (Add more oil if needed). Rub mixture on pork tenderloin. 
  3. Heat 1 tablespoon of oil in a large skillet. Brown pork tenderloin on all sides, remove to sheet tray.
  4. Bake pork tenderloin 25-30 minutes, or until 145-155˚F.
  5. Meanwhile, in the same skillet used for pork, add chopped leeks. Stir until tender.
  6. Add sliced apples and cook until softened. Add honey and vinegar. Season with salt and pepper to taste. 
  7. Remove tenderloin from oven. Let rest 10 minutes, then slice into 1-inch thick medallions. Serve with leeks & apples. 


March 23, 2011

Pot de Herb

I showed you my herb garden 2 years ago. Remember? Wow, I can't believe that was 2 years ago. I never did update you on how my first attempt at an herb garden went.

Well...
It failed.
Badly.
Horribly, badly.

You see, all was well. Everything was going wonderfully in my little herb-growing land.
Everything was coming up nicely, the sun was shining A LOT that summer, and things were getting to the point where they were about ready to start using.

And then, something happened.
Vacation happened.

My Boo and I took an impromptu, week-long trip to the homeland (Michigan) and IIII forgot to hire a plant sitter/waterer/surrogate mother.

I came home to a dried up, brown, crunchy mess. It was not pretty.

And that's how my green thumb turned brown.


I took a summer off to mourn, and here I am--at it again.

I'm hoping to be a supportive, nurturing, green-thumbed mother to these herbs this time around so I can actually eat them. You guys need to keep me up to it, kay?


DSC_0422
I made these.

Really. I did.

Want to know how? Because, I'll show you.
I will.
If you ask nicely.
Pretty please?
With sugar on top?

Okay, I give. I'll show you. It was easy, I promise. And relaxing.

Ingredients:
ingredients
Some terra cotta pots
Acrylic paints, your choice of colors
Paint brushes (I used the big sponges, but it would have been nice to have a smaller brush for touch ups)

Also needed (not shown):
Exacto knife/Scissors
Paper
Printer


First you need to paint the pots the colors of your choice:
After about 7 different paint schemes, I finally settled on white & green.

DSC_0394

Then I changed my mind after I took this picture and painted one blue.
So white, green, & blue. Perfect.

Next, print off the labels you want, in the font of your choice. The bolder the font, the better.
DSC_0396

With the exacto knife, or scissors, trace the letters to cut then out. (We're creating a stencil here, folks.)
For the letters with a middle, (like the p, a, e....etc), leave a little connector. If you forget, like I did a few times, no worries, just keep the middle.
DSC_0398


Then, just tape your stencil to the painted pot:
DSC_0399

For the middle of the 'P' and the 'A' that I accidentally cut out, I just stuck a little tape to the back and taped it in place.

Then, with your paint brush, paint in the stencil. I found that dabbing or blotting works best. That way it pressed the stencil down as it painted so I didn't get and bleeding edges.
DSC_0401


Remove the stencil, and TADA!:
DSC_0404

Beautiful!! There were just a few edges to touch up (this is where a small brush would have come in handy.)

Repeat with the rest of your pots:
DSC_0411
DSC_0420

For the little flower thingy, I just used a rubber stamp with a stamp pad that I had and pressed it on for added detail.

DSC_0422

And there you have it!
Simple, easy, and great looking herb pots!

I'm all ready to start mothering and nurturing my herbies!