
Well...
It failed.
Badly.
Horribly, badly.
You see, all was well. Everything was going wonderfully in my little herb-growing land.
Everything was coming up nicely, the sun was shining A LOT that summer, and things were getting to the point where they were about ready to start using.
And then, something happened.
Vacation happened.
My Boo and I took an impromptu, week-long trip to the homeland (Michigan) and IIII forgot to hire a plant sitter/waterer/surrogate mother.
I came home to a dried up, brown, crunchy mess. It was not pretty.
And that's how my green thumb turned brown.
I took a summer off to mourn, and here I am--at it again.
I'm hoping to be a supportive, nurturing, green-thumbed mother to these herbs this time around so I can actually eat them. You guys need to keep me up to it, kay?

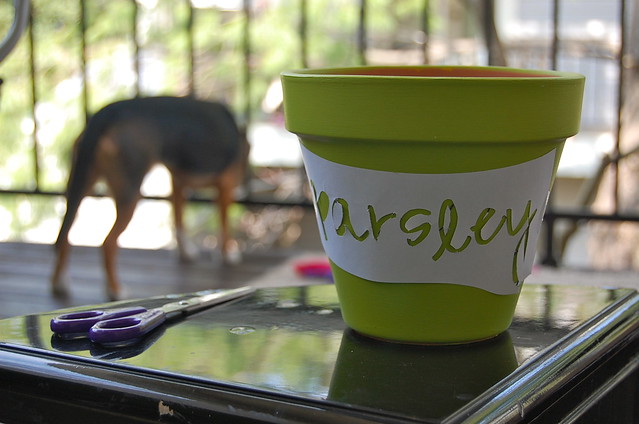
I made these.
Really. I did.
Want to know how? Because, I'll show you.
I will.
If you ask nicely.
Pretty please?
With sugar on top?
Okay, I give. I'll show you. It was easy, I promise. And relaxing.
Ingredients:
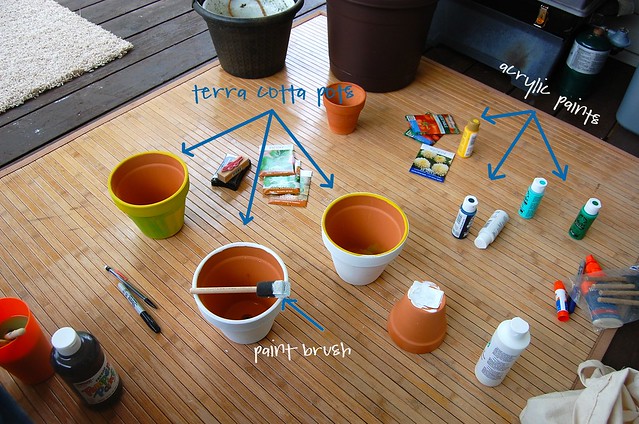
Some terra cotta pots
Acrylic paints, your choice of colors
Paint brushes (I used the big sponges, but it would have been nice to have a smaller brush for touch ups)
Also needed (not shown):
Exacto knife/Scissors
Paper
Printer
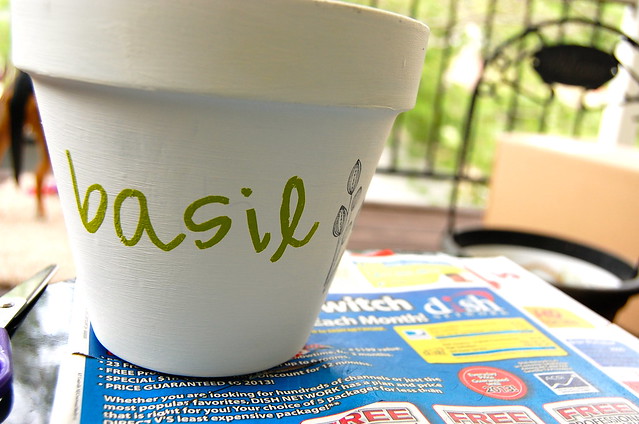
After about 7 different paint schemes, I finally settled on white & green.
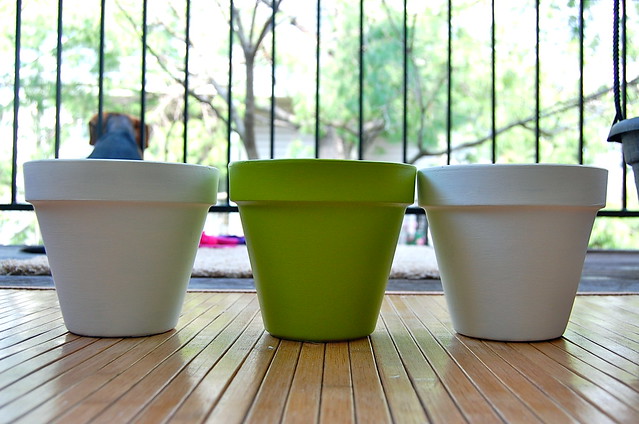
Then I changed my mind after I took this picture and painted one blue.
So white, green, & blue. Perfect.
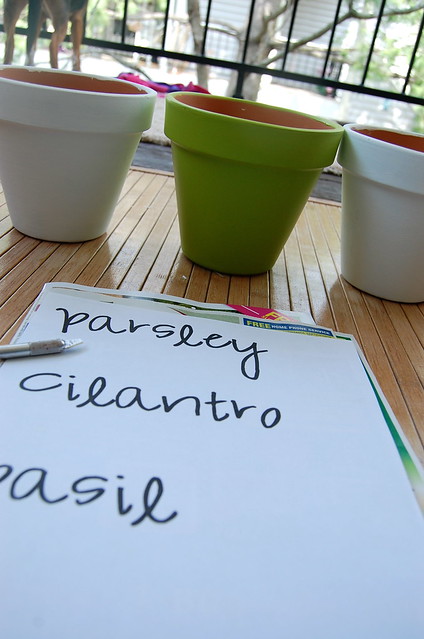
Next, print off the labels you want, in the font of your choice. The bolder the font, the better.
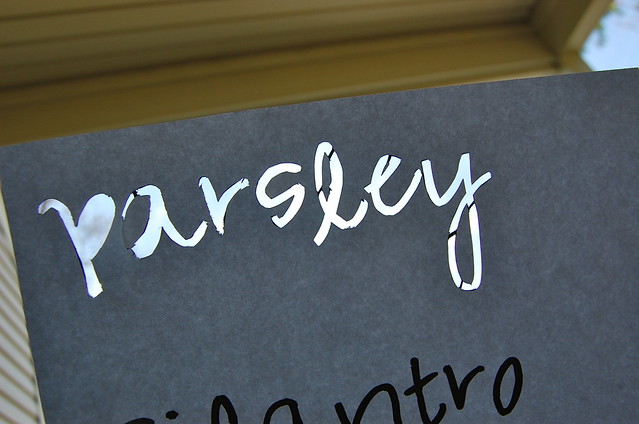
With the exacto knife, or scissors, trace the letters to cut then out. (We're creating a stencil here, folks.)
For the letters with a middle, (like the p, a, e....etc), leave a little connector. If you forget, like I did a few times, no worries, just keep the middle.
Then, just tape your stencil to the painted pot:
For the middle of the 'P' and the 'A' that I accidentally cut out, I just stuck a little tape to the back and taped it in place.
Then, with your paint brush, paint in the stencil. I found that dabbing or blotting works best. That way it pressed the stencil down as it painted so I didn't get and bleeding edges.
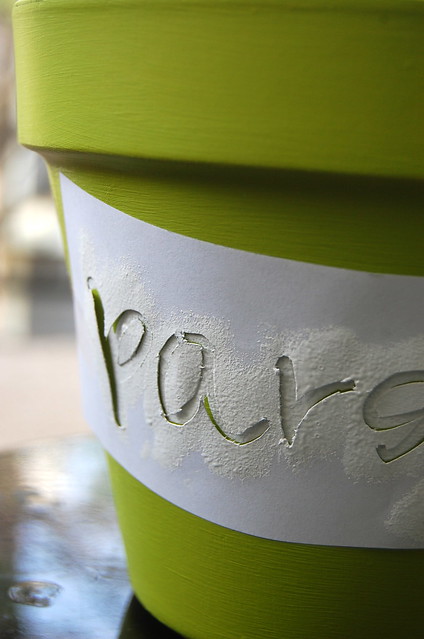
Remove the stencil, and TADA!:

Beautiful!! There were just a few edges to touch up (this is where a small brush would have come in handy.)
Repeat with the rest of your pots:
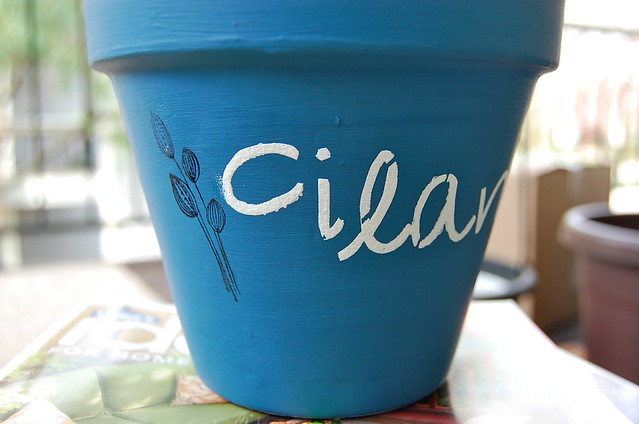
For the little flower thingy, I just used a rubber stamp with a stamp pad that I had and pressed it on for added detail.
And there you have it!
Simple, easy, and great looking herb pots!
I'm all ready to start mothering and nurturing my herbies!
this blog is awesome! Love the look of it.
ReplyDeletecheck out mine? i'm a photographer.
www.electricbrandon.com
you should follow it too! thanks :)
Rochelle, the pots are simply adorable! Nice job!
ReplyDeleteLeslie totally bought some of those herb pots last week but hers are like 3 inches tall.
ReplyDeleteWow awesome pots!!! You're so artistic :)
ReplyDeleteThese are too cute! I wish we didn't move so much so I could grow herbs. That's a bummer.
ReplyDeleteI hope you can start blogging more often now that you are done with schooL!!
You should sell these!
ReplyDeleteAr.. so cute! And home made too! I'm very much inspired...
ReplyDelete